
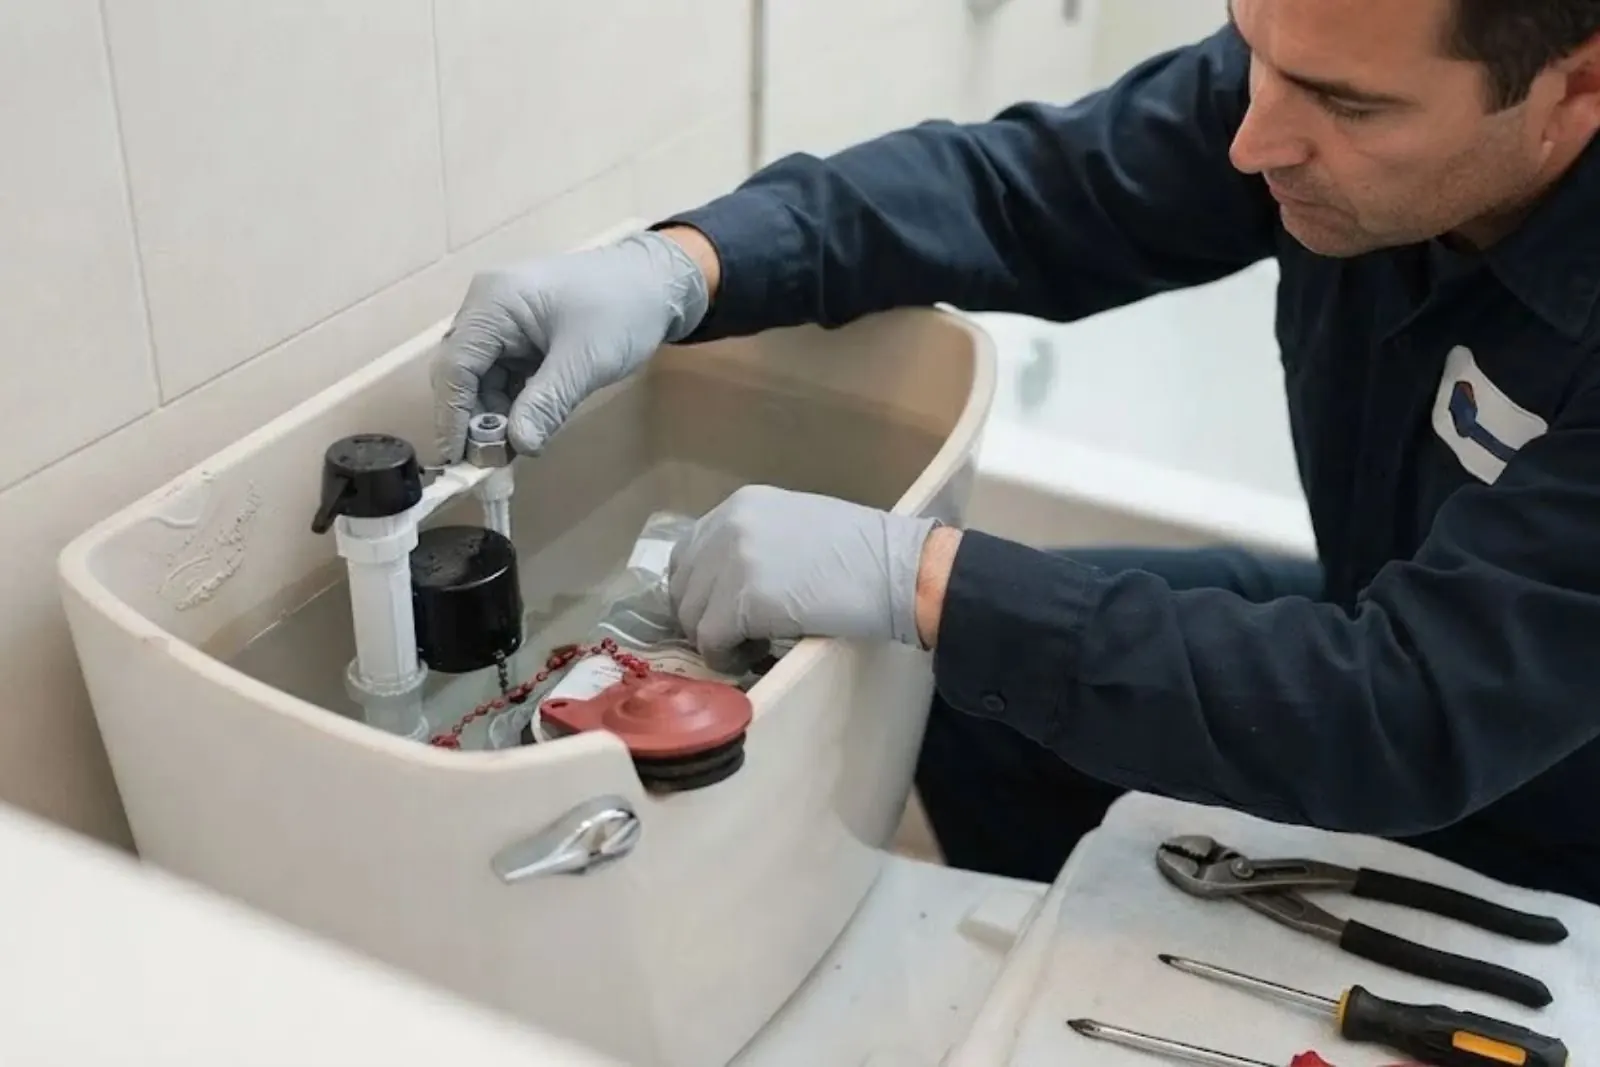
Three green lights before you start
You can install a one-piece toilet yourself if three things are true. The floor flange is intact and sits at the finished floor, the floor around it is solid, and two people can lift a heavy fixture. One-piece models are often well over 50 pounds, and the porcelain chips easily.
If the flange is cracked, the floor is soft, or the old toilet was leaking from underneath, stop and bring in a licensed plumber. Those are repair jobs, and a new toilet set on a bad base will leak again.
Measure before you buy
| Measure | How | Why it matters |
|---|---|---|
| Rough-in | From the finished wall behind the tank to the center of the floor bolts | Twelve inches is the common distance. Ten and fourteen exist. A wrong match will not sit against the wall. |
| Bowl shape | Round or elongated | Elongated is longer and needs more room in front. |
| Seat height | Standard or taller | Taller seats are easier on knees, and they matter for older adults. |
| Doorway and path | Door width and turns on the way in | A one-piece unit is bulky and cannot be tilted much. |
Measure twice. Returning a heavy toilet is the part nobody enjoys.
Flange cracked or floor soft?
Call (855) 575-2890 before you set the new bowl.
Tools and parts to lay out first
- New wax ring and closet bolts, if the toilet does not come with them.
- A braided supply line sized to reach from the valve to the fill inlet.
- Adjustable wrench, small level, plastic shims, and a putty knife.
- Old towels, a sponge, a bucket, and a rag to plug the drain opening.
- Disposable gloves, since the old wax and bowl are not pleasant.
Check the shutoff valve on the wall too. If it is stiff, weeping, or will not close all the way, do not trust it for the install. Replacing a shutoff means working on the supply pipe, which is a plumber's job unless you are confident with the fittings on your pipe.
Installation, in order
- Empty the old toilet
Close the supply valve, flush, and sponge out the tank and bowl. Disconnect the supply line.
- Lift it off
Remove the nuts on the floor bolts and lift straight up with a helper. Set it on towels.
- Scrape and inspect
Remove the old wax from the flange. Check the flange for cracks, and cover the drain opening with a rag to block sewer gas.
- Set the bolts and ring
Slide new closet bolts into the flange slots. Place a new wax ring on the flange, or on the horn of the bowl, as the maker directs.
- Lower the bowl
Align the holes with the bolts and press down evenly. Do not rock the bowl, since that breaks the seal.
- Tighten gently
Add washers and nuts, then snug each side in turns. Stop as soon as the bowl stops moving. Overtightening cracks porcelain.
- Connect the water
Attach the supply line, open the valve slowly, and let the tank fill.
- Test the seal
Flush several times, and check the base and the connections with dry paper.
Where one-piece installs go wrong
Cracked porcelain
The most expensive mistake. Tighten the bolts a little at a time, alternating sides, and never use a long wrench to force it.
Rocked wax seal
Moving the bowl after it touches the wax breaks the seal. If the bowl is off line, lift and reset it with a fresh ring.
Wobble
An uneven floor makes the bowl rock. Use plastic shims under the base, not extra bolt pressure.
Slow tank fill
Debris from the supply line can clog the fill valve. Flush the line into a bucket before you connect it.
When it is not a DIY job
- The flange is cracked, rusted, or sits below the finished floor.
- The floor around the toilet gives under your weight.
- The drain pipe has moved or needs a new rough-in.
- Water appears at the base after a flush, and a new ring did not fix it.
- The toilet is slow to drain or gurgles, which points to a line problem.
A leak at the base of an installed toilet can rot the subfloor in silence. For a floor repair or flange fix, our toilet repair service handles the plumbing side. A relocated drain falls under plumbing installation, and permit rules vary.
After the install: the first week
Check the base for dampness after the first few flushes, then again the next morning. Keep a dry paper towel at the base overnight if you want a clear answer. A slow weep looks like a dry floor until the towel comes up wet.
Listen to the tank. It should fill and then go quiet. A constant hiss means the fill valve or the flapper needs adjusting. Crews in Tremonton, about 20 miles north, and Willard, about 7 miles south, can handle a flange or leak that the swap uncovered.
Brigham City note: cold garages and fill-valve scale
Brigham City's January lows average 18.1 F, based on NOAA climate normals. A toilet stored in an unheated garage can hold ice in the tank or bowl, so keep it indoors until install day, and drain the tank first.
The city's water page lists hardness at 17 to 20 grains per gallon. Scale builds up around fill valves and flush valves, so an easy cleaning habit helps. If the new tank fills slowly or whistles in a year or two, scale is a likely suspect. Ask Public Works for the current figure.
Source type: NOAA climate normals as reported for Brigham City and the city water page
Frequently Asked Questions
Yes. A wax ring takes the shape of the first seat and does not reseal reliably after being moved. Use a fresh ring any time the toilet comes off the flange.
The floor is probably uneven. Slip plastic shims under the low side, then trim them flush. Tightening harder cracks the bowl instead of fixing the wobble.
Keep the porcelain somewhere that stays above freezing, and drain every bit of water out of the tank and bowl. With January lows averaging 18.1 F, trapped water can freeze and crack parts. Bring it inside a day before you set it.
Permit rules vary, so ask the Brigham City building office at (435) 734-6604 before you start. A like-for-like swap is different from moving the drain. A licensed plumber can say what applies.
It is risky. The bowl and tank are one heavy piece, and a slip chips the porcelain or hurts your back. Have a helper lift and set it. You can do the tightening and water connection on your own afterward.
Set a small level across the bowl rim, front to back and side to side. If a bubble sits off center, shim the low side before final tightening.
Sources and standards
- Plumbing codes in the UPC and IPC families set the rules for fixtures, venting and drains. Ask the Brigham City building office at (435) 734-6604 which edition and permit rules apply to your job.
- The Utah Division of Professional Licensing offers a public Verify a License tool for checking any plumber's license class.
Written by Brigham City Pro Plumbing. Last updated October 29, 2026.